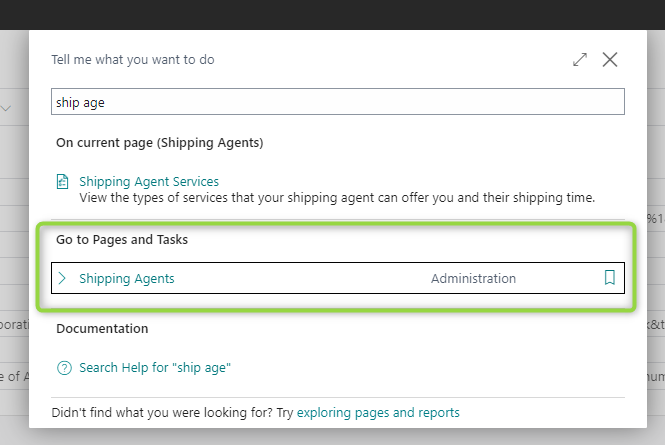
Open the page "Shipping Agents"
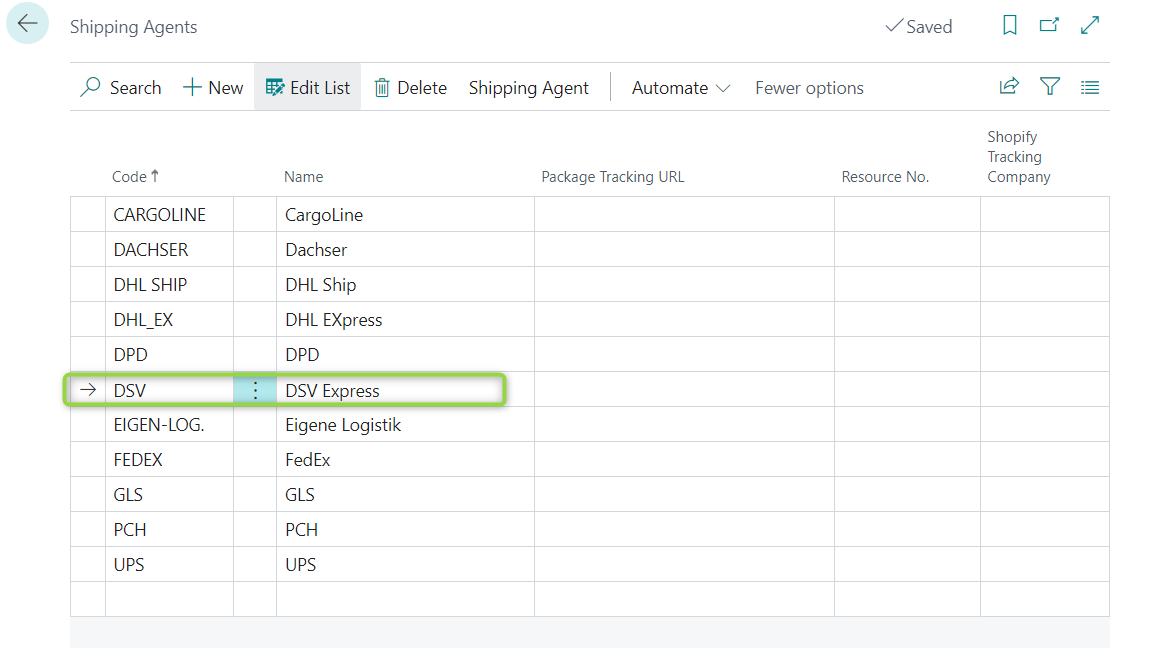
Enter the code and name of the shipping agent
Open the page "Shipping Label Setup"
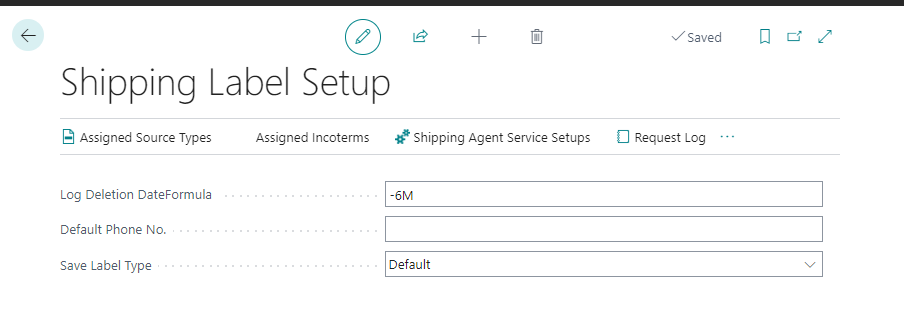
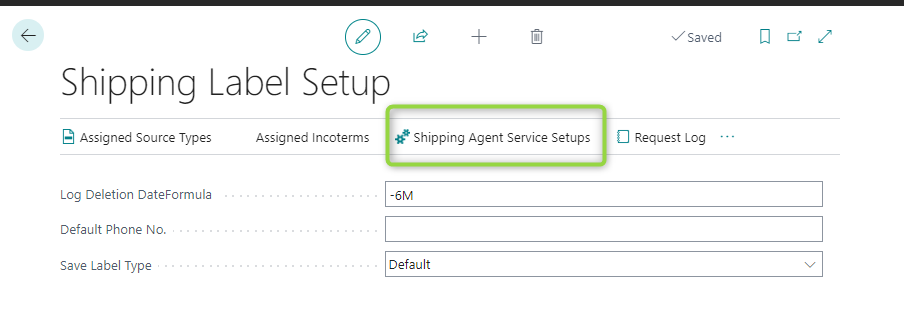
Click on "Shipping Agents Service Setups"
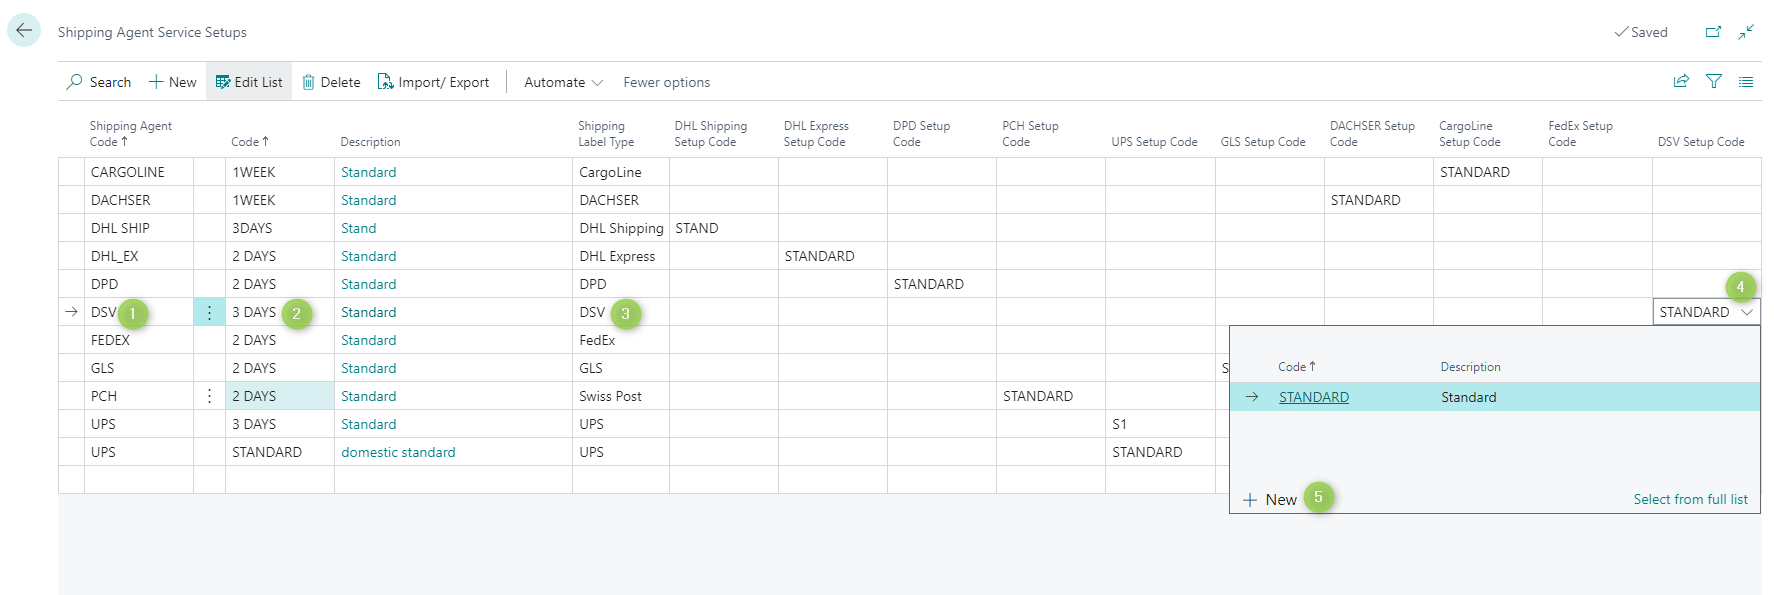
(1) Choose the shipping agent. Only the shipping agents that were defined in Step 2 can be chosen. (2) Define a code (Sub-process 1) Please note that this code defines only the delivery time. The user must combine this code with the setup code, which is defined in step 6 because the setup code defines how to deliver. (3) Choose the Shipping Label Type for the Shipping Agent so that BC understands for which shipping agent should the shipping label be printed. (4) Click on the field of Setup Code of the corresponding Shipping Agent. (5) Click on "New". A DSV Setup page will be opened.
The user defines the specific product or service that will be used through step 6. This information will be attached to related documents, for example, the sales order, once the BC user chooses a defined code from Shipping Agents Service Setups.
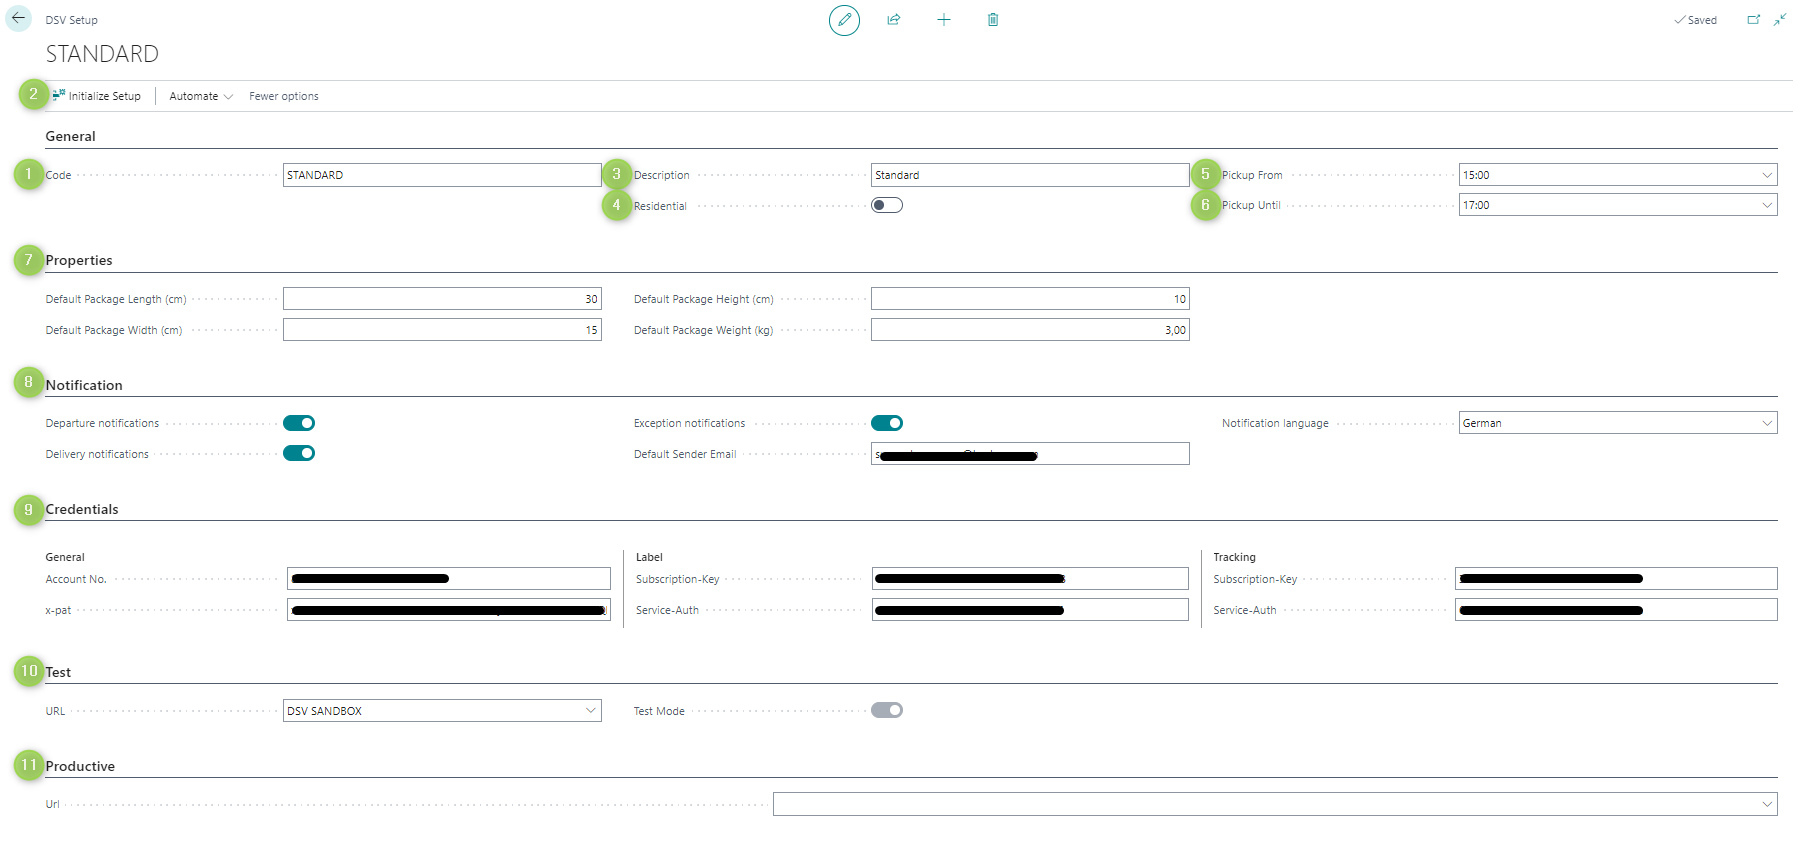
(1) Enter the Code. Here the user can enter any desired code for his convenience. (2) Click on the three points and choose "Initialize Setup". "Initialize Setup" provides the users with some default information for setup as a recommendation. If the user does not use this function, he must then fill in everything himself. (3) Add a description for the code. Here the user can enter any desired description for his convenience. (4) The button Residential must be activated if the receiver is a private person. (5) Define from which time the packages can be picked up by DSV. (6) Define until which time the packages can be picked up by DSV. (7) Fill or modify properties (Sub-process 2) (8) Fill notification options (Sub-process 3) (9) Enter the customer credentials (Sub-process 4) (10) Choose the TEST URL and activate the Test Mode. If the Test Mode is activated on the Shipping Label Setup page, the button here becomes not editable.
(11) Choose DSV LIVE as a productive URL.
